Mobile Menu MENU

1-800-421-4070

Tag Archive: gardening

  1. Gardening for Savings: How Growing Your Own Pays Off

    Comments Off on Gardening for Savings: How Growing Your Own Pays Off
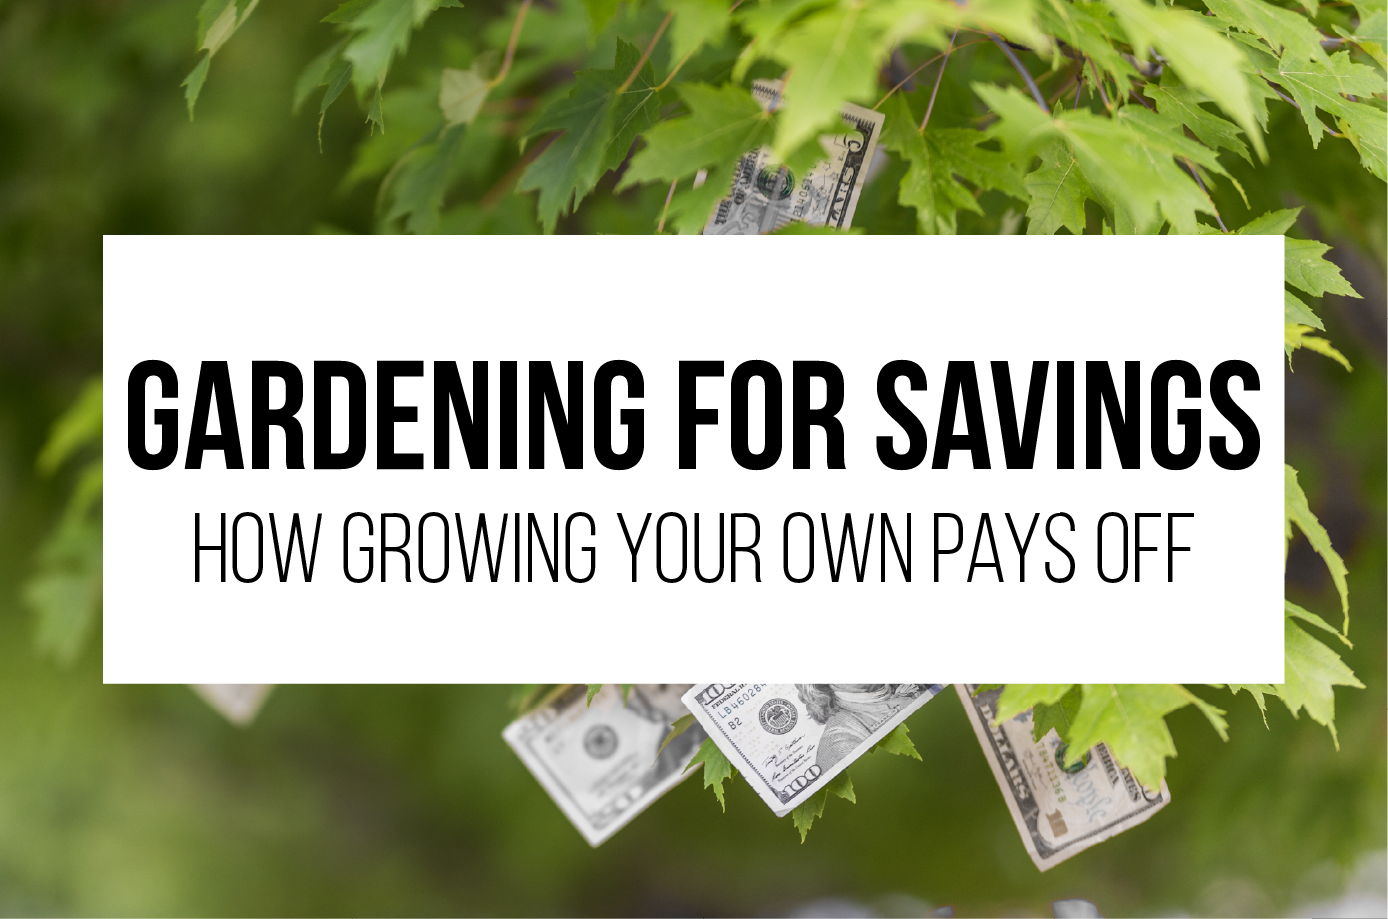
    Gardening for Savings

    Introduction

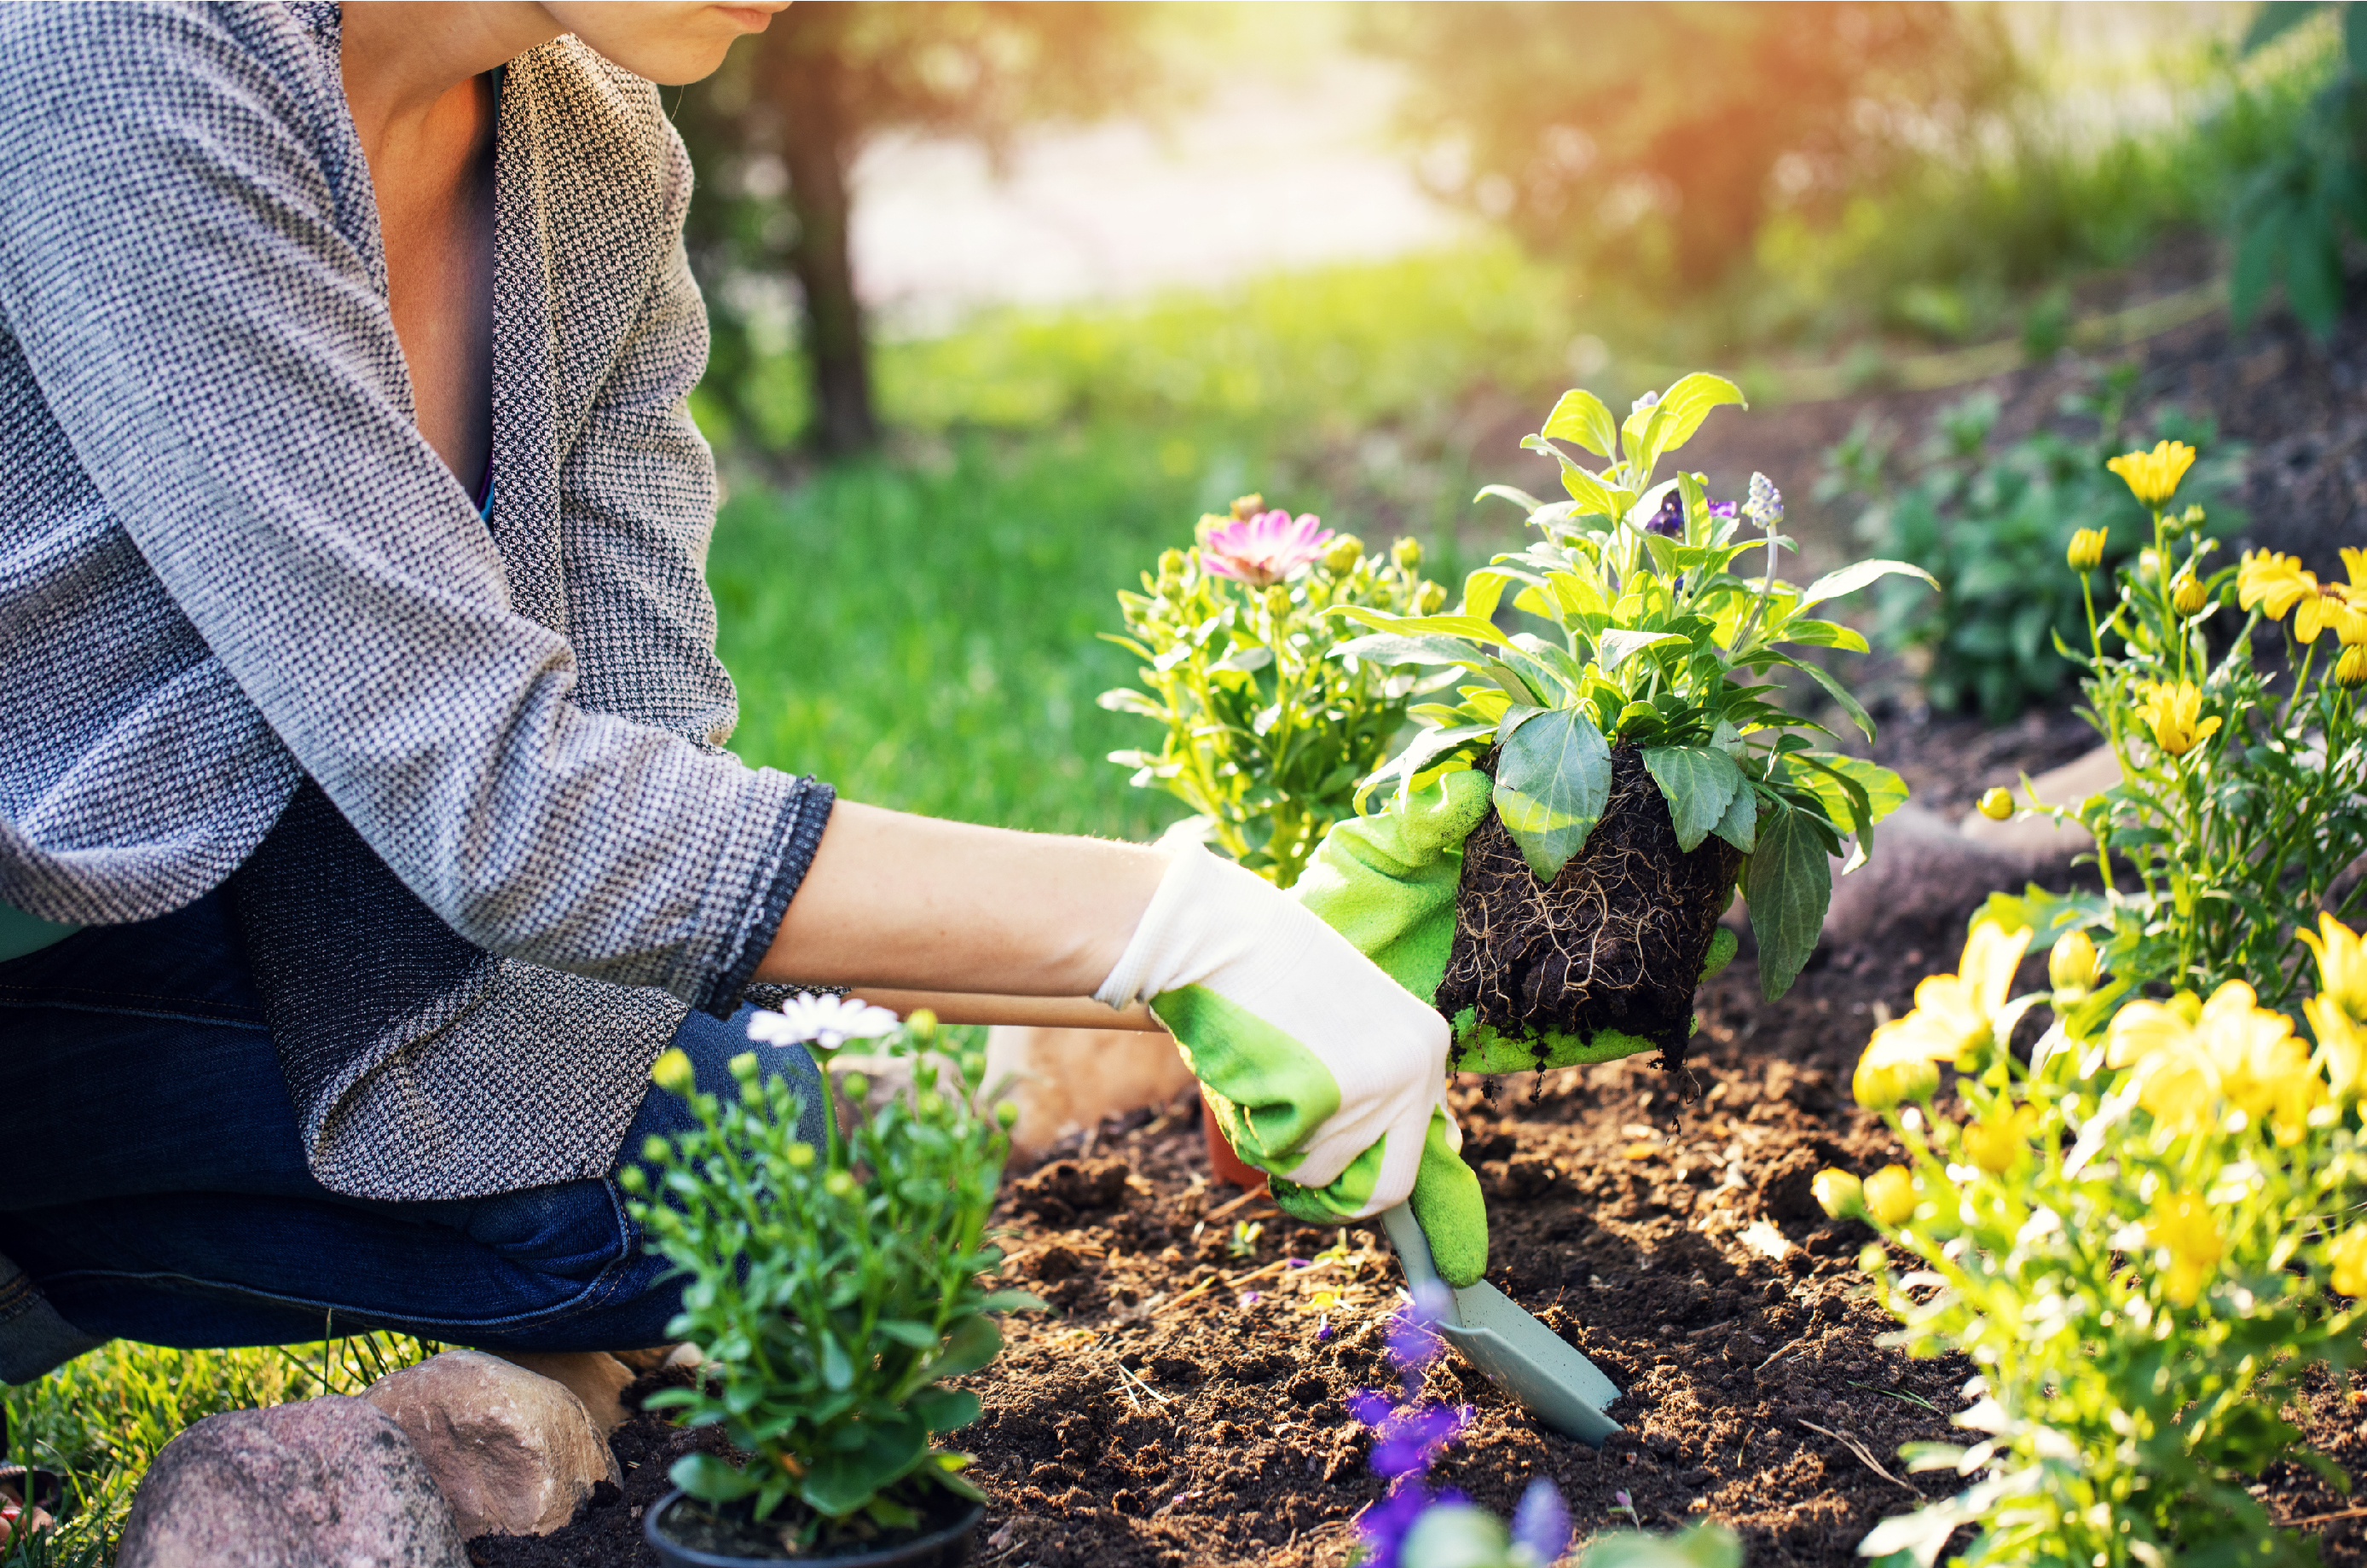
    In the face of rising inflation and financial struggle, many U.S. households are turning to their gardens to save money. Gardening not only offers a rewarding hobby but also provides significant economic benefits. By employing smart gardening tactics, households are combating inflation and growing their savings.

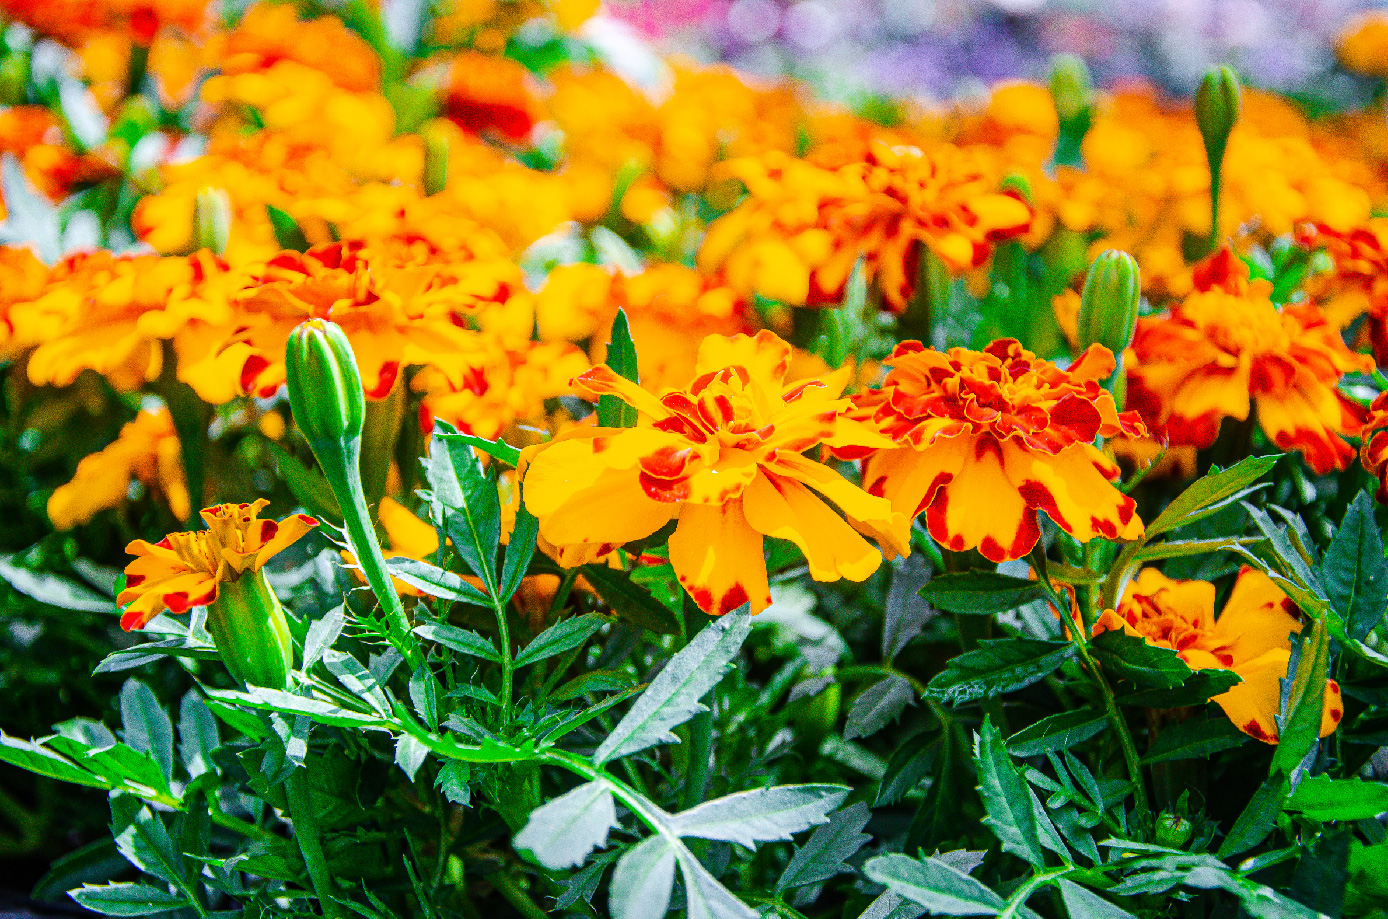
    The Popularity of Gardening

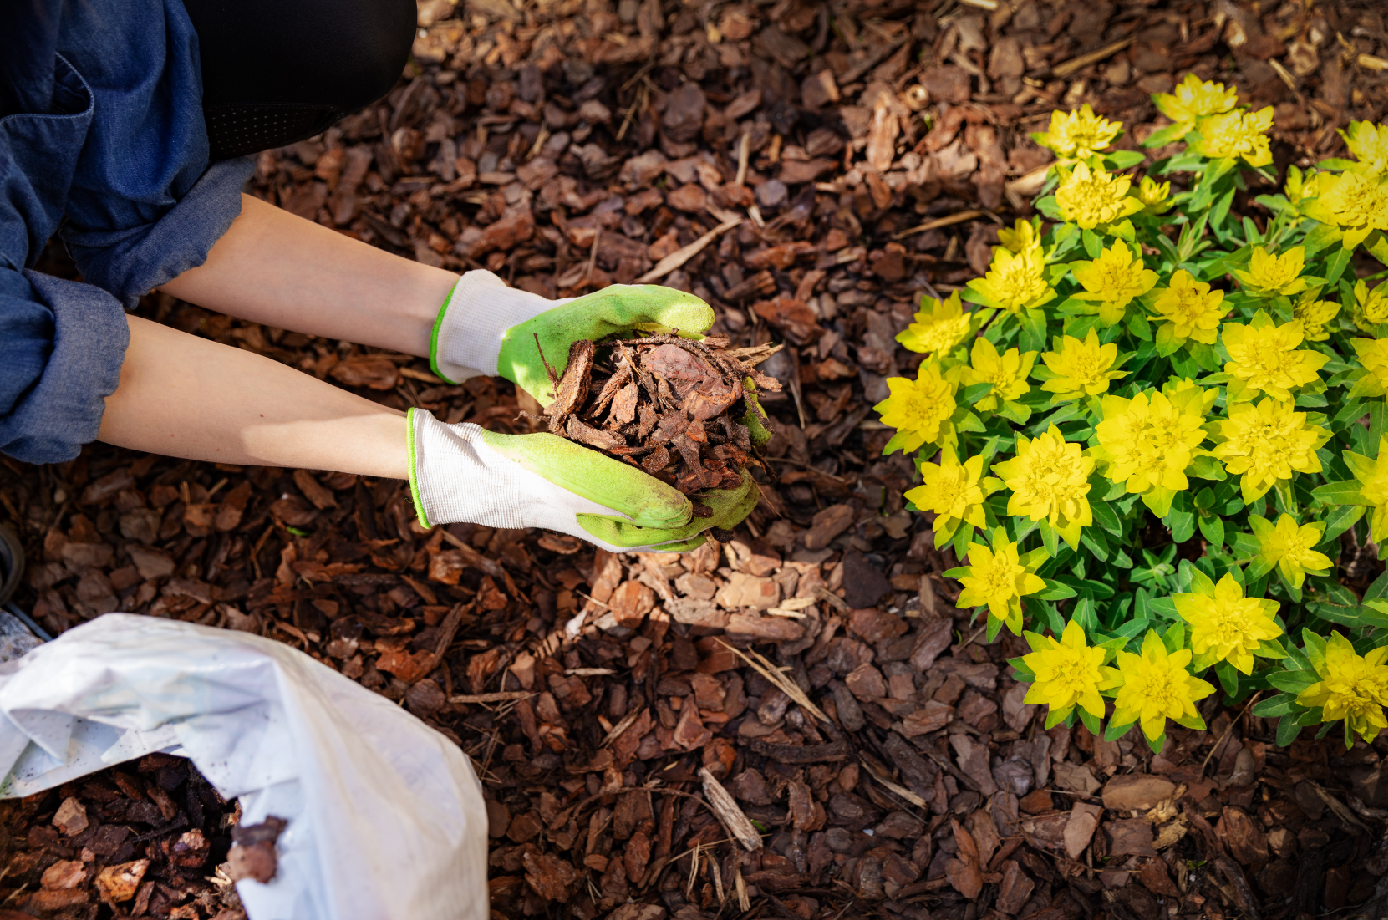
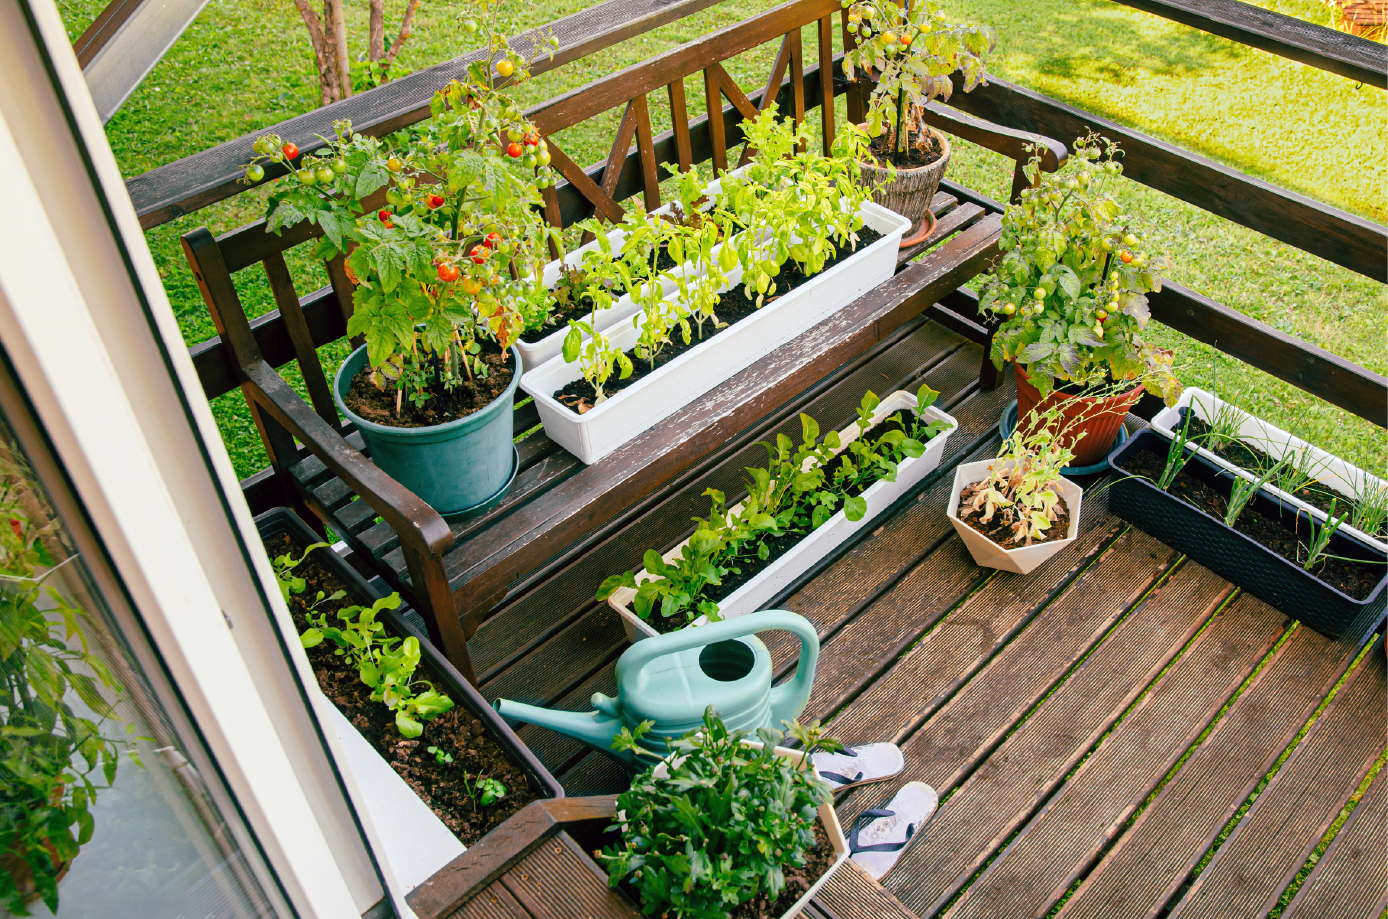
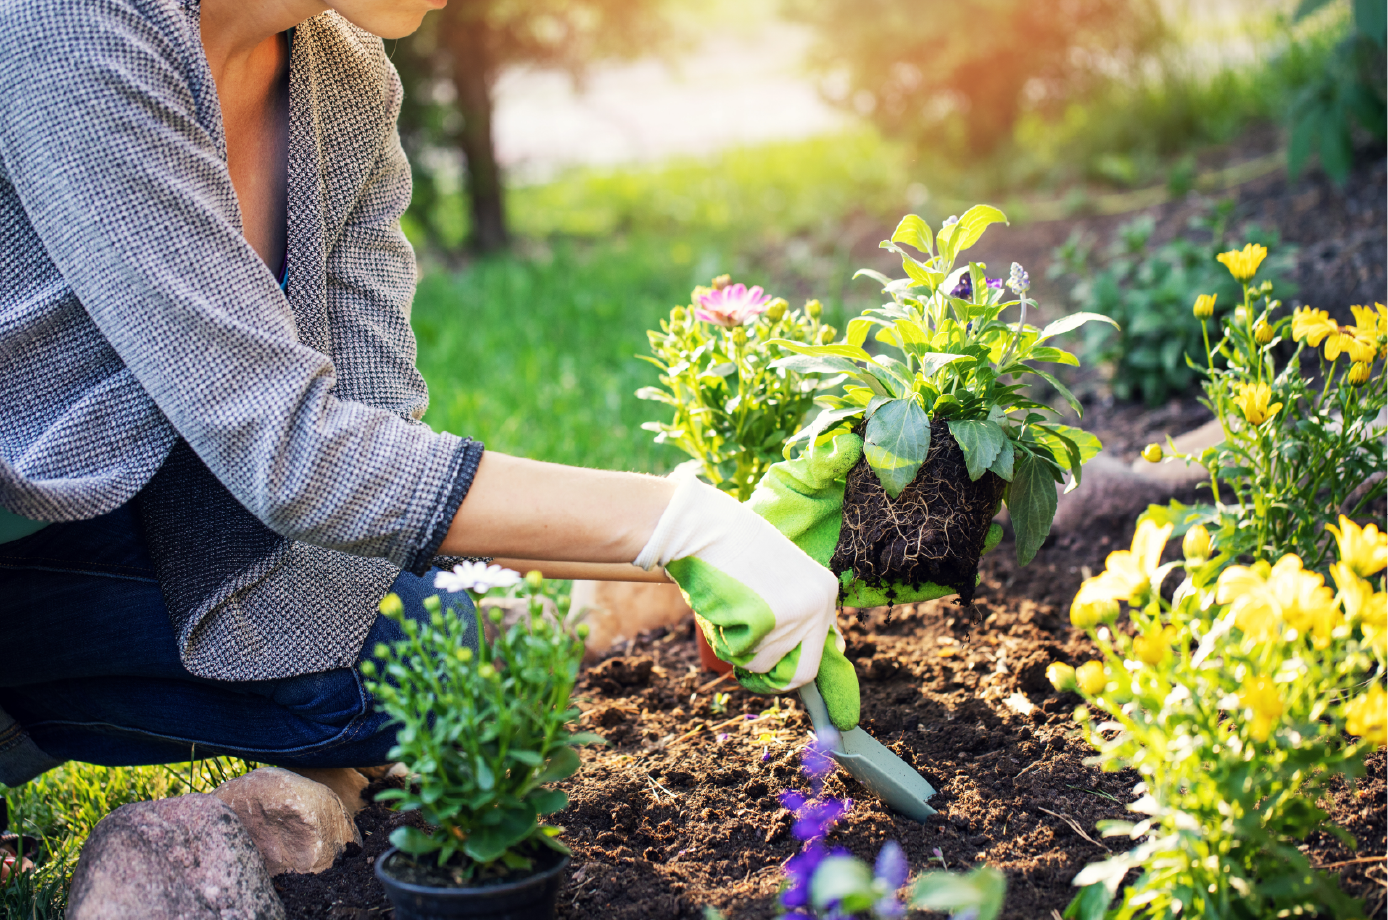
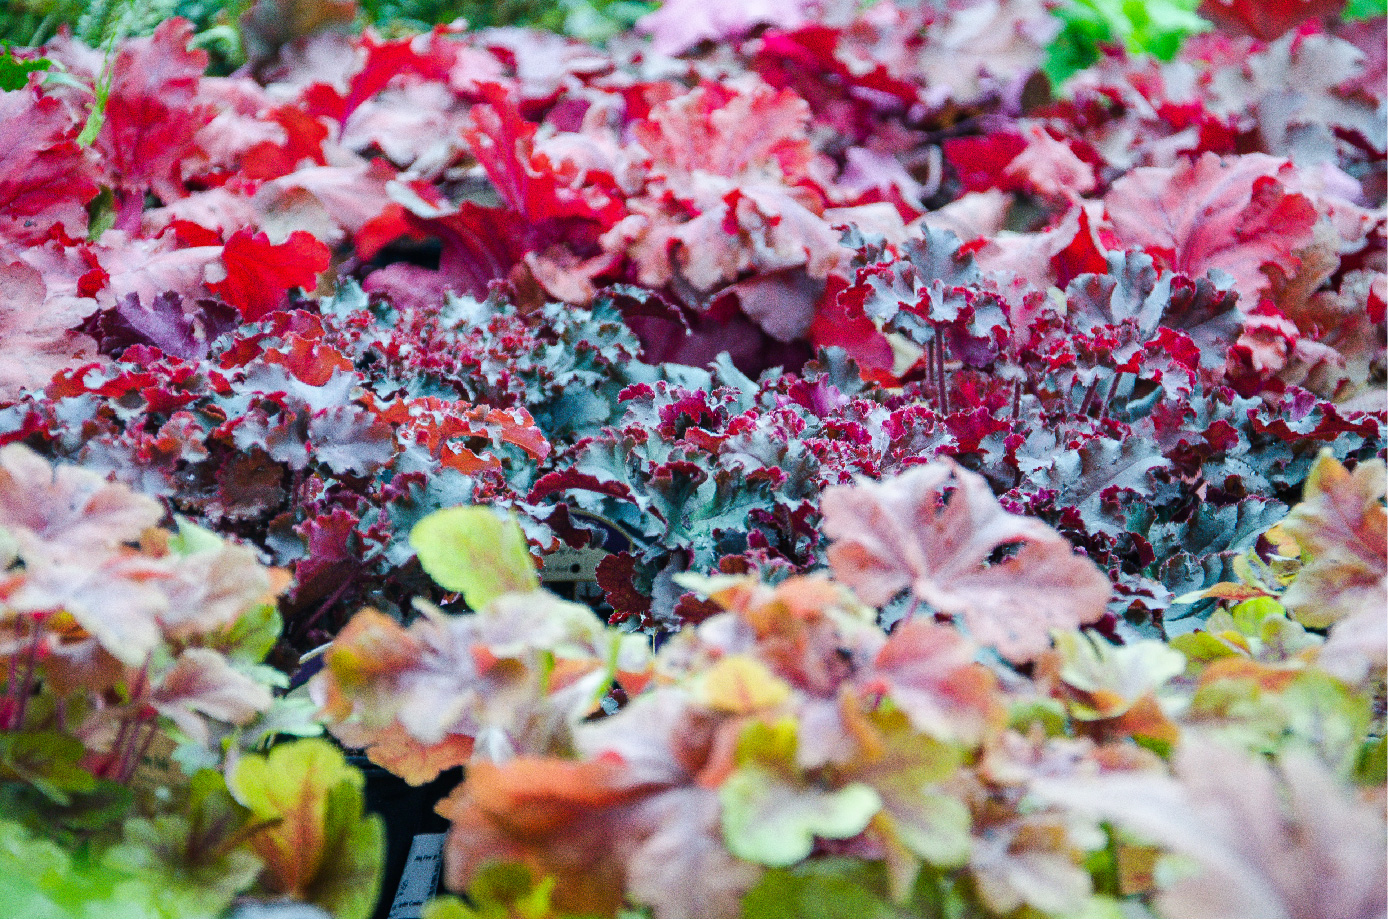
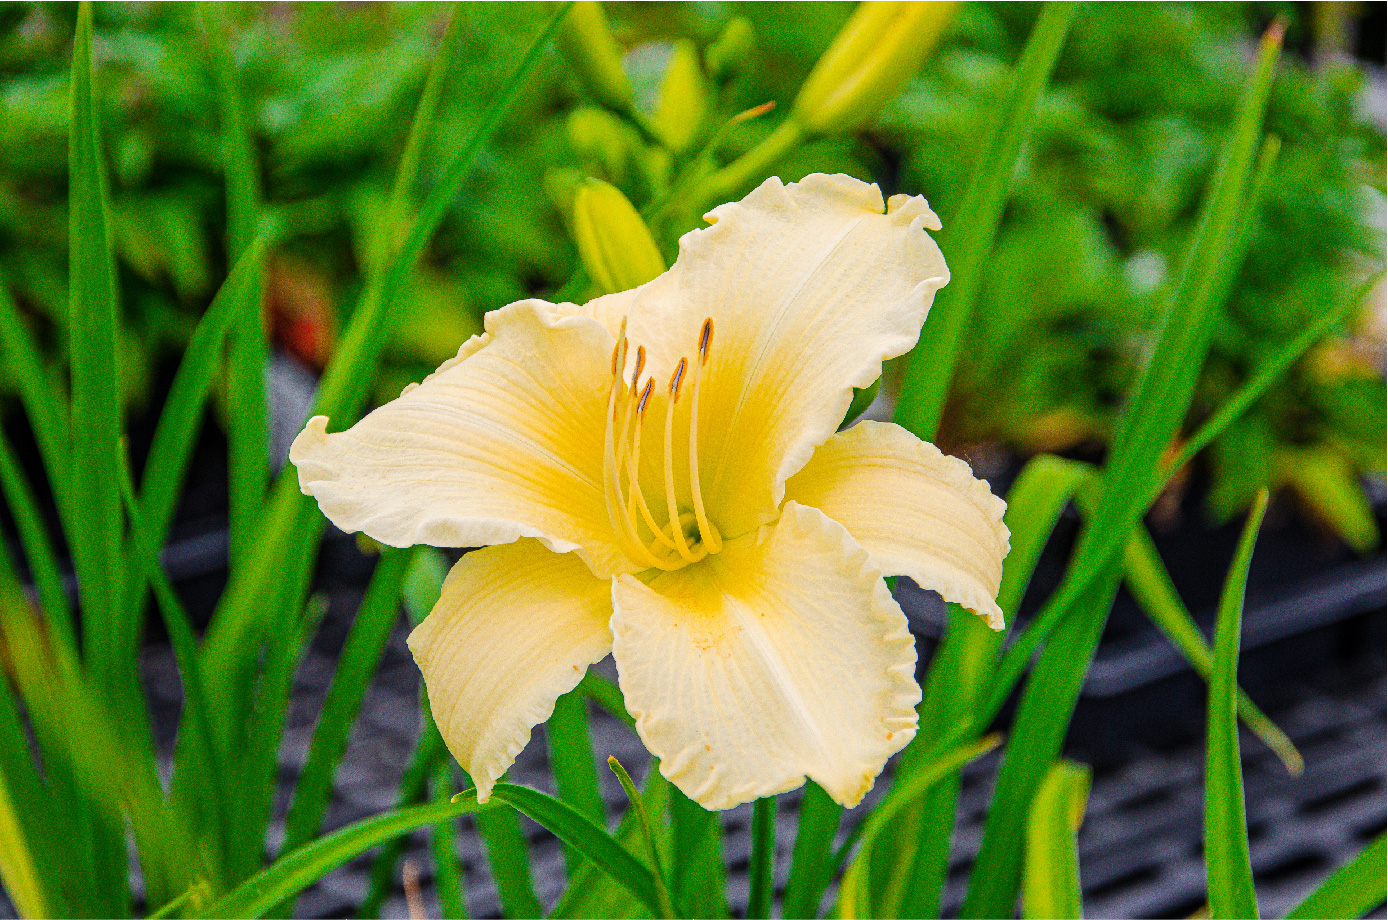
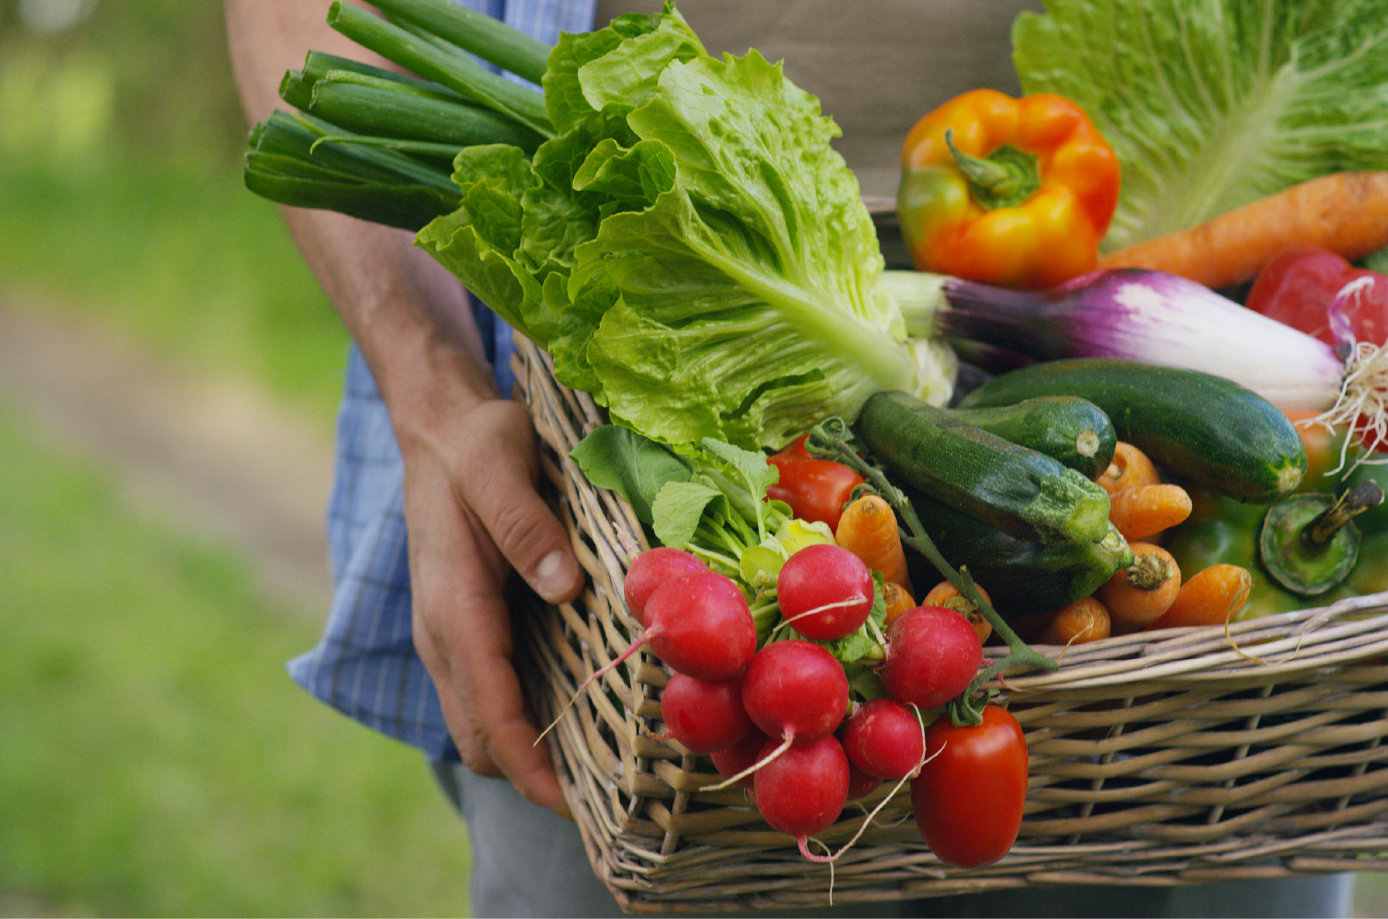
    Gardening has become a popular activity in the United States, with 55% of households, or 71.5 million, growing a garden. For many, gardening is a way to enhance their living space, with 55% of people gardening to create a beautiful environment. Additionally, 43% of gardeners focus on growing their own food, turning their backyards into mini-farms that contribute to food security and reduce grocery bills.

    Grow your own!

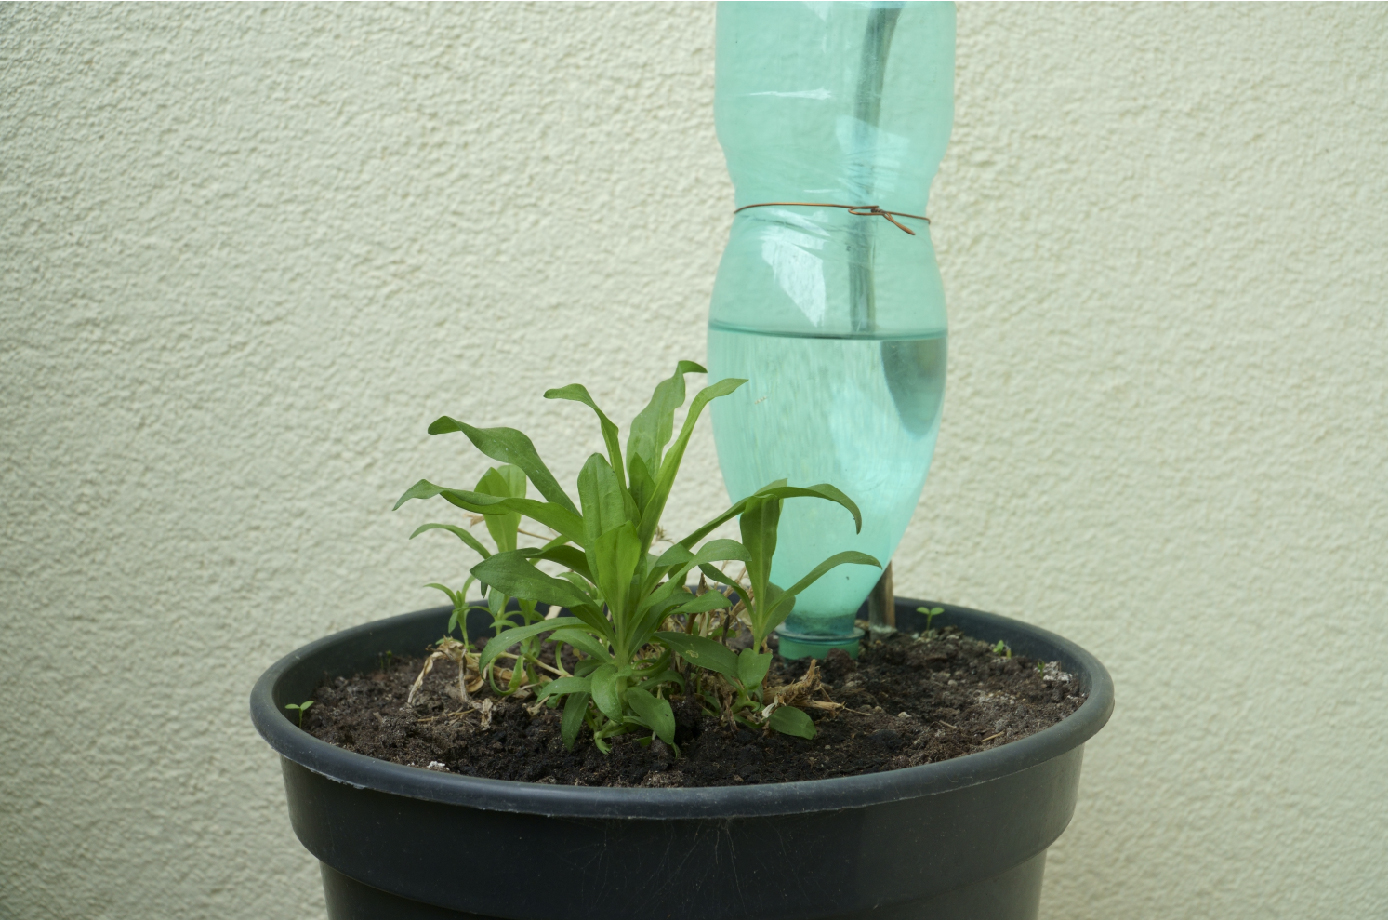
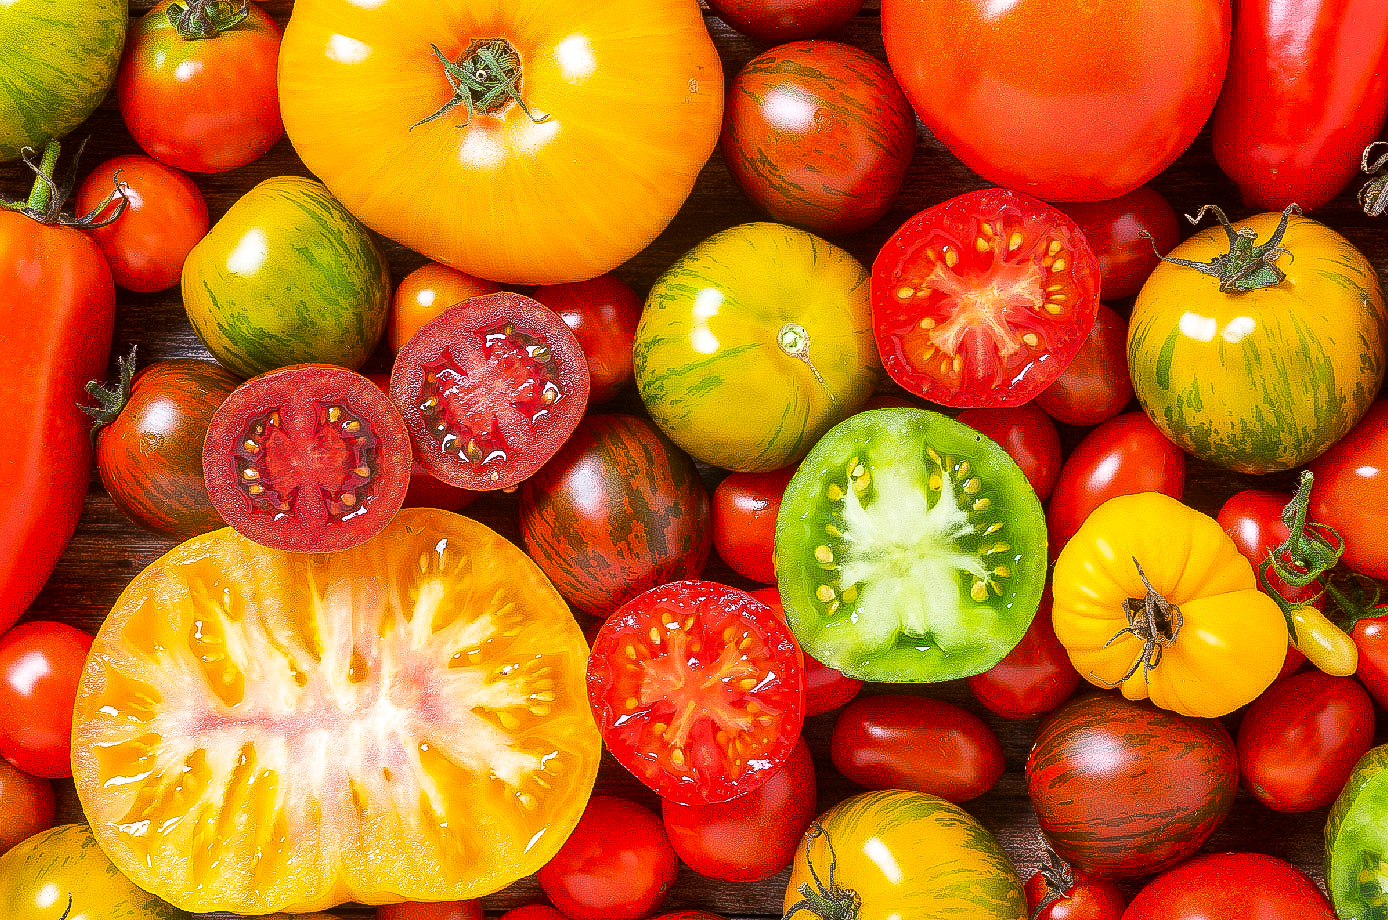
    Financial Benefits of Food Gardening

    One of the most compelling reasons to garden is the impressive return on investment. In 2021, the average return on food gardening investment was a staggering 757%. A modest food garden, ranging from 100 to 200 square feet, can feed one person year-round, making it a practical and economical choice for those looking to cut down on food costs. On average, a garden yields $600 worth of produce annually, which far outweighs the average spending of $70 per person per year on gardening supplies.

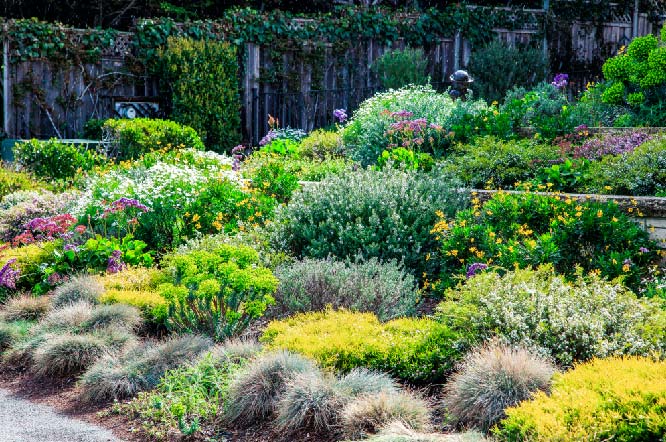
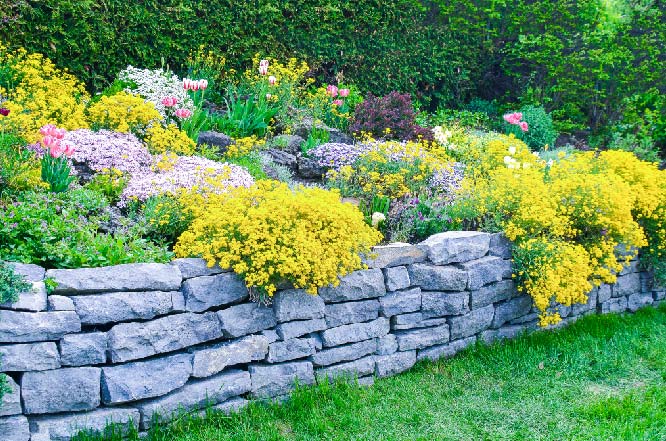
    Landscape Improvements and Energy Savings

    Beyond food gardening, improving your landscape can also offer economic benefits. Landscape upgrades have a return on investment of 109%, making them a worthwhile upgrade. Furthermore, planting trees strategically around your home can lead to energy savings. A 25-foot tree can reduce annual heating and cooling costs by 8-12%, providing both environmental and economic advantages.

    Energy saving

    Time Investment and Community Impact

    While the initial cost of gardening supplies can be a concern, the ongoing expenses are relatively low. Gardening households spend an average of just $70 per person per year on their hobby. Since the average U.S. gardener dedicates about five hours per week to gardening, it is a manageable and enjoyable activity that offers substantial rewards. Additionally, the gardening community is vibrant and supportive, with many sharing tips and resources to help each other succeed.

    Conclusion

    Gardening is more than just a hobby; it is a powerful tool. By investing time and effort into gardening, U.S. households can enjoy beautiful spaces, fresh produce, and significant economic benefits. Whether you are looking to reduce your grocery bills, enhance your home’s landscape, or simply enjoy a fulfilling pastime, gardening for savings is a smart and rewarding choice. Start your gardening journey today and watch your savings grow!

    If you have any questions that weren’t answered or need more information, feel free to stop by and see us at either the Broad St. or Mechanicsville location. You can also give us a call or drop us an email at info@stranges.com. We’re here to help you grow better! 

    Connect with Strange’s: 

    Instagram: @StrangesRVA             Facebook: @Strange’s Florist 

    Mechanicsville: 804-321-2200      West Broad: 804-360-2800 

  2. Vacation Garden Care

    Comments Off on Vacation Garden Care

    Vacation Garden Care: How to Prepare + Care While Away Introduction

    Taking a vacation is a wonderful way to relax and recharge, but it can be stressful if you’re worried about your garden back home. Luckily, with a little planning and some simple steps, you can ensure your garden stays healthy and vibrant while you’re away. Here’s how to take care of your garden during your vacation.

    Ask for Help

    If you’re going to be gone for longer than three days, it’s wise to ask a friend, relative, or neighbor with some gardening experience to water your plants. For non-gardeners, keep the tasks simple and straightforward. Provide clear instructions and make sure tools like hoses and sprayers are easily accessible. If you have an established perennial garden without vegetables or annual flowers, you usually don’t need to worry about caring for your plants while you’re away.

    Ask a friend or neighbor for garden help if you will be gone longer than 3 days!

    Prepare Before Vacation

    Weed Your Garden

    Weeding before you go on vacation is crucial. Weeds compete with your vegetables for nutrients and moisture. By removing them, you give your veggies the best possible chance of success and avoid any nasty surprises when you get back. Nobody wants to spend their first day back from vacation in a 4-hour weeding marathon.

    Add Mulch Around Plants

    Mulching is another important step. Mulch helps lock in moisture and keeps weeds at bay. If you cut your lawn regularly, you can use the clippings as mulch and kill two birds with one stone. Other effective mulch options include newspaper, old leaves, or wood chips.

    Mulch helps lock in moisture and block out weeds.

    Harvest Ripe Vegetables

    Pick anything that is ripe or close to ripe before you leave. Over-ripe vegetables signal to the plant that the season is over and it’s time to go to seed. High-maintenance vegetables like peas, beans, lettuce, and zucchini must be harvested every few days once they start producing. If you’re leaving during their peak season, ask a friend to harvest for you if you’re gone for longer than three days.

    Watering Tips

    Water Deeply Before Leaving

    Before heading out, water your garden very deeply. You can also insert DIY watering devices around the most fragile plants, like tomatoes. If you’re only gone for three days or less, water deeply again immediately when you return from vacation. For more tips on watering, check out our article on Ways to Water While on Vacation.

    Check the weather while you are away to monitor live conditions and adjust watering plans as needed.

    Check the Weather

    The weather forecast plays a significant role in your garden care plan. If thunderstorms are in the forecast, you might not need to worry. However, if a heatwave is predicted, arrange for someone to water your garden if you’re gone longer than a day or two. Remember, more plants die from overwatering than underwatering, so it’s better to let your plants get a little dry than to give them more water than their roots can handle.

    Houseplant Care

    For indoor plants, the milk jug or soda bottle watering method works well. Alternatively, you can relocate plants into your shower stall or bathtub and fill the tub with an inch or two of water. Closing the door or curtain will keep humidity levels higher, ensuring your plants remain as perky when you return as they were when you left.

    DIY watering tools

    Conclusion

    With these tips, you can take care of your garden while enjoying your vacation. Whether it’s weeding, mulching, harvesting, or watering, a little preparation goes a long way. By following these steps, you can relax and enjoy your time away, knowing that your garden is in good hands and will be thriving when you return.

    If you have any questions that weren’t answered or need more information, feel free to stop by and see us at either the Broad St. or Mechanicsville location. You can also give us a call or drop us an email at info@stranges.com. We’re here to help you grow better! 

    Connect with Strange’s: 

    Instagram: @StrangesRVA             Facebook: @Strange’s Florist 

    Mechanicsville: 804-321-2200      West Broad: 804-360-2800 

  3. June Gardening Checklist

    Comments Off on June Gardening Checklist

    June Gardening Checklist

    Introduction

    June is an exciting month for gardeners in Virginia. With the arrival of summer, there are plenty of tasks to keep your garden thriving. June is a month of transition and growth, from harvesting cool-season crops to planting warm-season varieties. Follow this checklist to make the most of your garden this month!

    June Care Tips

    • Deadhead Flowers: Deadhead garden flowers, whether annuals or perennials, after they flower. This encourages the plants to produce more blooms, foliage, and roots.
    • Fertilize Annuals: Flowering requires lots of energy, so fertilize annual plants with a balanced fertilizer once flowering begins. Fertilize one more time before the end of the season to keep them healthy and blooming.
    • Weed Regularly: Weed your garden regularly to keep the task easy and manageable. Regular weeding helps your plants get the nutrients and water they need without competition.
    • Heat-Loving Crops: There’s still time to plant heat-loving crops like Southern peas and asparagus beans. These plants thrive in the summer heat and will add variety to your garden.
    • Pinch Herbs: Pinch the flowers off herbs like basil, mint, and oregano to promote bushy growth. This encourages the plants to produce more leaves, which you can use in your cooking!

    Pretty garden!

    Harvest Cool-Season Crops

    Start your June gardening by harvesting cool-season crops like lettuce, spinach, and peas. As temperatures rise, these plants will begin to bolt and become bitter. Enjoy the fresh produce now before it’s too late. Harvesting these crops will also make room for new plantings.

    Harvest Onion and Garlic

    Harvest onions and garlic as the tops dry and fall over. Braid garlic tops and hang them in a cool, dry place. Cut onion tops back to one inch and dry them thoroughly before storing. Use any damaged produce immediately.

    She's plantin'!

    Add Warm-Season Annuals and Tuberous Perennials

    Brighten up your garden with warm-season annuals like zinnias, sunflowers, and snapdragons. These flowers will add a splash of color and attract pollinators to your garden. June is also the time to plant tuberous perennial flowers such as dahlias, which will come back year after year, adding lasting beauty to your garden.

    Keep Sowing Flowers and Herbs

    When planting this month, choose varieties with a shorter maturity time. This ensures that your plants will be ready to harvest before the first frost in the fall. Direct sow sunflowers, nasturtiums, marigolds, borage, basil, and other warm-season flowers and herbs. These plants will thrive in the warm weather and add beauty and functionality to your garden.

    OOOO flowers

    Plant Warm-Season Crops

    June is the perfect time to plant a second round of warm-season crops. Here are some ideal choices:

    • Beans: Beans are an ideal crop because they mature quickly in warm soil and locations with at least eight hours of sun. You can choose bush beans, which grow faster and are ready for harvest in as soon as 35 days, or pole beans. French garden varieties of bush beans are excellent options. SOW SEED
    • Bunching Onions (Green Onions or Scallions): Optimal soil temperature is 70°F to 75°F. Choose quicker-maturing varieties such as Red Beard or Guardsman. SOW SEED
    • Corn: Depending on the variety, corn can mature within 60 to 70 days. It grows best in temperatures ranging from 60°F to 95°F in full sun with well-drained soil. Varieties like Orchard Baby, Golden Bantam, or Early Sunglow are good choices. SOW SEED
    • Okra: Okra grows best when temperatures reach at least 85°F during the day and nights don’t dip below 60°F. It takes about 60 days to mature and handles humidity well. SOW SEED
    • Peas: Typically grown in early spring, peas can also be grown in summer with the right heat-tolerant variety. Most take around 60 to 70 days to mature. Ensure they are well-watered to thrive in the heat. SOW SEED
    • Peppers: Peppers mature between 65 and 120 days, but the majority are ready for harvest around 75 days. Optimal soil temperatures are above 70°F. SOW SEED OR PLANT SEEDLINGS
    • Radishes: Summer varieties like French Breakfast, Rover Hybrid, or Crimson Giant are great choices. SOW SEED
    • Summer Squash: These crops mature quickly, taking between 60 and 70 days to be ready for harvest. For oblong varieties, harvest when they are 8 to 12 inches long; for rounder shapes, harvest when they are 4 to 8 inches in diameter. SOW SEED
    • Swiss Chard: Heat tolerant and a great alternative to lettuce, spinach, or kale. Varieties like Bright Lights, Fordhook Giant, or Green Lucullus are ideal. SOW SEED
    • Tomatoes: Opt for smaller-fruited, determinate, or early-maturing varieties. Seedlings of Early Girl, Fourth of July, Juliet, Sungold, or Sun Sugars are good choices. PLANT SEEDLINGS

    Watering and Maintenance Tips

    • Avoid Wet Gardens: Stay out of the garden when the vegetable plant leaves are wet. Walking through a wet garden can spread disease from one plant to another.
    • Proper Watering: After your vegetable garden is well established, water it thoroughly once a week rather than giving it a light watering every day. This encourages a deeper root system, which helps plants tolerate dry weather better.
    • Monitor Spring Crops: Keep a close eye on your spring crops. Hot weather can cause lettuce to bolt and become bitter. As soon as you harvest your spring vegetables, plant a warm-season crop in their place.
    • Prevent Blossom End Rot: Blossom end rot on tomatoes, peppers, squash, and watermelons can be prevented by maintaining uniform soil moisture. Mulch and water correctly, plant in well-drained soil, and avoid cultivating too deeply near the plants. Applying calcium-heavy fertilizer like bone meal can also help.

    Weeding is good!

    Conclusion

    With this checklist, you’ll have a productive and beautiful garden throughout June. Happy gardening! If you have any questions that weren’t answered or need more information, feel free to stop by and see us at either the Broad St. or Mechanicsville location. You can also give us a call or drop us an email at info@stranges.com. We’re here to help you grow better! 

    Connect with Strange’s: 

    Instagram: @StrangesRVA             Facebook: @Strange’s Florist 

    Mechanicsville: 804-321-2200      West Broad: 804-360-2800 

  4. The Power of Companion Planting: Boost Your Garden’s Health and Productivity

    Comments Off on The Power of Companion Planting: Boost Your Garden’s Health and Productivity

    The Power of Companion Planting: Boost Your Garden's Health and Productivity

    Introduction

    Are you looking to create a thriving, resilient garden? The secret may lie in companion planting, a time-tested technique where certain plants are grown together to benefit each other. By strategically pairing plants, you can ultimately increase your garden’s yields, as well as minimize pests, improve soil fertility, reduce weed competition. Let’s explore some effective plant pairings and how they can enhance your Virginia garden.

    Bees are beneficial insects!

    What is Companion Planting?

    Companion planting involves growing different plants in proximity to one another to foster a mutually beneficial relationship. This natural method mimics ecosystems in the wild, where diverse plant communities also support each other’s growth and health.

    Marigolds are great companion plants.

    Common Beneficial Plant Pairings

    1. Tomatoes and Basil: This duo is a culinary match, and also a garden powerhouse! Basil repels insects like thrips and disorients moths that lay tomato hornworms. Additionally, basil attracts bees, improving pollination and boosting tomato health and flavor.
    2. Garlic and Potatoes: Aphids can devastate crops but can’t stand garlic. Therefore, planting garlic as a barrier around potatoes can protect them from pests by acting as a natural pest repellent.
    3. Sunflowers and Cucumbers: Sunflowers provide natural support for climbing plants like cucumbers. They also offer shade, helping to protect sun-sensitive crops from heat stress.
    4. Nasturtiums and Brassicas: Nasturtiums attract caterpillars away from kale, cabbage, and broccoli, serving as a trap crop that protects your main harvest.
    5. Dill and Ladybugs: Dill attracts ladybugs, natural predators of small garden pests like aphids and spider mites, and helps keep your plants pest-free.

    Better harvests away!

    Conclusion

    Companion planting is a smart, eco-friendly way to boost your garden’s health and productivity. With the natural relationships between plants, you can create a more resilient and bountiful garden that also looks great. Whether you’re pairing tomatoes with basil or sunflowers with cucumbers, these plant partnerships can transform your gardening experience as well as your harvest. Embrace the power of companion planting and watch your Virginia garden flourish. Discover more about these beneficial plant pairings and start planting with purpose for a thriving, sustainable garden. Happy gardening!

    If you have any questions that weren’t answered or need more information, feel free to stop by and see us at either the Broad St. or Mechanicsville location. You can also give us a call or drop us an email at info@stranges.com. We’re here to help you grow better! 

    Connect with Strange’s: 

    Instagram: @StrangesRVA             Facebook: @Strange’s Florist 

    Mechanicsville: 804-321-2200      West Broad: 804-360-2800 

  5. Hydrangeas 101

    Comments Off on Hydrangeas 101
    Bigleaf Hydrangeas

    Bigleaf Hydrangeas

    Introduction

    Hydrangeas are a beloved addition to any garden, celebrated for their lush foliage and voluminous blooms. Available in various types, each with its unique charm, these shrubs can elevate the beauty of any outdoor space. Understanding how to plant and care for these plants properly ensures they thrive. Keep reading our quick guide to get started!

    Panicle Hydrangeas

    Panicle Hydrangeas

    Types of Hydrangeas

    Before planting, it’s helpful to know the different types:

    • Bigleaf (H. macrophylla), known for their ability to change color based on soil pH.
    • Panicle (H. paniculata), distinguished by their cone-shaped flower clusters.
    • Smooth (H. arborescens), famous for their large, round flower heads.
    • Oakleaf (H. quercifolia), notable for their oak-shaped leaves and rustic fall color.
    • Mountain (H. serrata), distinguished by their compact size.
    Smooth Hydrangeas

    Smooth Hydrangeas

    Planting Hydrangeas

    The best times to plant hydrangeas are in the fall or early spring, allowing them to establish a strong root system before the blooming season. Choose a location with morning sun and afternoon shade, ideal for most types. Additionally, ensure the soil is rich in organic material and well-draining to prevent waterlogging.

    Dig a hole about two feet wider than the root ball, matching the depth to ensure the plant is positioned correctly. Once you have enhanced the soil with compost for improved quality, you may plant, and top with mulch to help maintain moisture and temperature.

    Oakleaf Hydrangeas

    Oakleaf Hydrangeas

    General Care for Hydrangeas

    Hydrangeas need about one inch of water per week, with adjustments during hotter, drier periods. Morning watering is also best to minimize evaporation and disease risk. Fertilize according to the specific type’s needs, guided by a soil test to ensure optimal nutrient delivery. Also, protect your plants from pests and diseases by choosing disease-resistant varieties and maintaining healthy growing conditions.

    Mountain Hydrangeas

    Mountain Hydrangeas

    Conclusion

    With the right care and knowledge, hydrangeas can be a stunning feature in your garden, offering a spectacular display of blooms year after year. Visit Strange’s choose from various hydrangeas and receive expert advice on how to nurture them into a breathtaking part of your garden landscape.

    If you have any questions that weren’t answered or need more information, feel free to stop by and see us at either the Broad St. or Mechanicsville location. You can also give us a call or drop us an email at info@stranges.com. We’re here to help you grow better! 

    Connect with Strange’s: 

    Instagram: @StrangesRVA             Facebook: @Strange’s Florist 

    Mechanicsville: 804-321-2200      West Broad: 804-360-2800 

  6. Sleep, Creep, Leap: How Perennial Plants Grow

    Comments Off on Sleep, Creep, Leap: How Perennial Plants Grow

    Sleep, Creep, Leap: How Perennial Plants Grow

    Introduction

    Are you dreaming of a perennial garden that bursts with life and offers a symphony of colors and textures year after year? The key to unlocking the full potential of your garden lies in understanding the growth cycle famously summarized by gardeners as “sleep, creep, leap.” This simple concept can transform how you approach gardening to cultivate a lush, vibrant garden with patience and insight.

    Understanding the Perennial Phases

    The life cycle of perennial plants can be mystifying, especially if you’re new to gardening. Unlike annuals, which complete their life cycle in one year, perennials take their time, beautifully unfolding over three years. Here’s what you can expect in each phase:

    Perennial plants at Strange's.

    Year One: Sleep

    In their first year, perennials are often busy beneath the surface. This phase is all about ‘sleep’ — not a literal slumber, but a period of intense root development. During this stage, perennials might not look very active or impressive above ground, but underground, it’s a different story. They are expanding their root systems to absorb nutrients and water efficiently. This foundation is crucial for the plant’s future growth and bloom.

    Support your sleepy perennials by providing them with well-prepared soil, sufficient water, and a layer of mulch to maintain moisture and temperature. Remember, they’re putting down roots to sustain them for years to come!

    Perennial plants at Strange's.

    Year Two: Creep

    As perennials enter their second year, they start to ‘creep.’ During this stage, you’ll notice more visible growth, as the plants begin to fill out above ground. The root system continues to develop, supporting an increase in foliage and the first hints of flowering. This is an exciting time as the garden starts to come alive with more substantial plant forms and varied textures.

    Although perennials in their creeping phase are more established and require less pampering, they still benefit from ongoing care such as weeding and proper spacing to ensure they don’t compete for resources.

    Perennial plants at Strange's.

    Year Three: Leap

    Year three is when the magic truly happens. Perennials ‘leap’ into full glory — robust foliage and vibrant blooms showcase the plant’s mature stage. This leap is not just a visual treat; it’s a celebration of the perennial’s life cycle reaching its peak. Your garden will likely look its best, with each plant displaying its full potential.

    This stage is your reward for the nurturing and patience over the past two years. It’s a testament to the resilience and enduring beauty of perennials.

    Perennial plants at Strange's.

    Conclusion

    The ‘sleep, creep, leap’ cycle is more than just a gardening adage; it’s a proven strategy to develop a thriving, sustainable garden. By understanding and respecting these natural growth phases, you cultivate beautiful plants and a deeper connection to the cycle of life they represent. So, embrace the journey of your perennial garden. Remember that great gardens are not made overnight but over time. Your patience and attentiveness will be richly rewarded with a stunning display that evolves with each passing year.

    If you have any questions that weren’t answered or need more information, feel free to stop by and see us at either the Broad St. or Mechanicsville location. You can also give us a call or drop us an email at info@stranges.com. We’re here to help you grow better! 

    Connect with Strange’s: 

    Instagram: @StrangesRVA             Facebook: @Strange’s Florist 

    Mechanicsville: 804-321-2200      West Broad: 804-360-2800 

  7. Seed Stratification for Springtime Sprouts

    Comments Off on Seed Stratification for Springtime Sprouts

    Seed Stratification for Springtime Sprouts

    Introduction

    Are you dreaming of a garden filled with vibrant flowers and lush greenery? The key to unlocking that dream may lie in a simple, yet often overlooked, gardening technique known as seed stratification. Whether you’re a seasoned gardener or just starting, understanding and applying this method can greatly improve the germination and overall success of your plants. In this blog post, we’ll delve into the what, why, and how of seed stratification to help you transform your garden into a thriving oasis.

    Vibrant spring flowers.

    Understanding Seed Stratification

    What is Stratification?

    Seed stratification is a natural process that prepares seeds for germination by simulating the environmental conditions they would naturally experience. Many seeds, especially those of perennial plants and trees native to temperate regions, require a period of cold and moist conditions to break their dormancy. This period mimics winter, signaling to the seeds that it’s safe to sprout once warmer temperatures return. Without this process, many seeds would remain dormant and fail to germinate, even under ideal growing conditions.

    Why is Stratification Necessary?

    In nature, seeds fall to the ground in autumn, where they are exposed to winter’s cold and moisture. This chilling period is crucial for breaking down the seed coat and other physiological barriers to germination. When gardeners collect and store seeds, these natural cues are absent, making it necessary to manually simulate the winter experience through stratification. However, if you plan to plant in spring, you need to stratify the seed before sowing outdoors. By understanding and replicating these natural processes, we can significantly improve our chances of successful germination and a thriving garden.

    Little sprouts!

    The Stratification Process

    • Selecting Seeds: Before beginning, it’s important to identify which seeds require stratification. Seeds are typically stratified in one of two ways; dry stratification or moist stratification. Research your plant species to determine if and what type of stratification is done. Here are some common varieties that DO require stratification:

      Stratified seeds

    • Dry Stratification: Dry stratification is the process of subjecting seeds to cold temperatures for a month or longer before planting to mimic a natural winter dormant period. We recommend storing your seeds in your refrigerator, or an unheated building for 30-120 days, or as recommended for your plant species.
    • Moist Stratification: Moist stratification is the process where seeds are mixed with a moistened substrate (fresh sawdust, builder’s sand, vermiculite, peat moss, or similar material)
    • and stored cold for ten days to three months. This process mimics the cold, damp winter conditions that seeds experience naturally when planted outside during fall. Therefore, it is not necessary to use this pretreatment for a seed planted in the fall (direct seeding) as dormancy will be broken naturally in the soil over winter.
      • To begin this process, start by moistening a sterile medium like sand, vermiculite, or peat moss. The medium should be damp but not soaked. Mix your seeds with this medium in a plastic bag or container.
      • Next, place your container in the refrigerator for 1 month before planting. If your seedlings start to sprout while in the refrigerator, remove them immediately and plant them in the ground or pots until it’s time to plant outdoors. 
    • Planting: After completing the stratification process, plant your seeds according to their specific needs regarding soil type, depth, and spacing. Also, water the area well, as all direct seedings in spring or early summer, pre-treated or not, benefit from extra water during the first two months after seeding. 

    Planting!

    Tips and Tricks for Successful Stratification

    • Label your containers with the seed type and date to keep track of the stratification period.
    • Check the seeds periodically for signs of germination or mold.
    • Be patient and flexible; some seeds may require adjustments to their stratification period based on their response.

    Conclusion

    Seed stratification may seem like an extra step in the gardening process, but it’s a critical one for many plants. By mimicking the natural cycles of seasons, we can encourage a wider variety of plants to thrive in our gardens. Remember, gardening is not just about planting and watering; it’s about understanding and working with nature’s rhythms. With the knowledge of seed stratification, you are ready to bring even the most stubborn seeds to life. Happy gardening!

    If you have any questions that weren’t answered or need more information, feel free to stop by and see us at either the Broad St. or Mechanicsville location. You can also give us a call or drop us an email at info@stranges.com. We’re here to help you grow better! 

    Connect with Strange’s: 

    Instagram: @StrangesRVA             Facebook: @Strange’s Florist 

    Mechanicsville: 804-321-2200      West Broad: 804-360-2800 

  8. Feeding Birds in Winter

    Comments Off on Feeding Birds in Winter

    How to feed the birds this winter

    Introduction

    The colder months can be a challenging time for our feathered friends as natural food sources become scarce. Providing nourishment and a safe haven for birds during winter not only helps them survive but also brings joy to any backyard. Keep reading to explore how to feed birds during winter and the essential products available at Strange’s!

    Selecting the Right Feeder

    While there are different types of feeders designed for various bird species, not all feeders are made the same! By selecting a proper feeder for your yard and the avian visitors who frequent it, you can easily attract and nourish our feathered friends all winter long (and beyond!). Here is a great article to reference when identifying your backyard birds.

    Tube feeders (below, from left) are designed to attract smaller birds like chickadees, tufted titmice, white-breasted nuthatches, American goldfinches, and house finches. Tube feeders are best for black oil sunflowers, mixed seed mixes, safflower seeds, or peanuts.

    Another type is the hopper feeder (below), which is best for safflower and sunflower seeds or cracked corn. This feeder will attract similar species as the tube feeder in addition to larger birds like northern cardinals, blue jays, common grackles, and red-winged blackbirds.

    Tube feeder for birdsHopper feederSuet feeder

    Suet feeders (above) are another type of bird feeder that is used with high-calorie suet cakes. These specially designed cakes come in a variety of options and are loved by woodpeckers and other insect-eating birds. Suet feeders also attract tufted titmice, white-breasted nuthatches, and chickadees as well as the occasional Carolina wren and yellow-rumped warbler.

    Another type of bird feeder is the platform feeder (above), which is used to attract species that like to feed on the ground. This includes species like dark-eyed juncos, cardinals, mourning doves, blue jays, and sparrows. However, this type of feeder is a less popular option due to how easily squirrels or other pests are able to steal food from the feeder. Therefore, if you want to use a platform feeder, consider purchasing one with an ample roof to keep out rain and snow.

    Choosing Your Seed Mix

    While the type of feeder you select is important, choosing the right type of bird food is essential to successfully attracting and nourishing winter birds. Since different bird species have different dietary preferences, offering a variety of foods can attract a wider range of birds. Alternatively, you can select a mix with universal bird food favorites, such as black-oil sunflower seeds which are beloved by many feeder birds. However, if you want to attract specific species of birds to your feeder, purchase mixes specifically geared towards your desired visitors. Below are our top recommendations, all available for purchase in-store at Strange’s now!

    Designed For Most Species:

    Bird mixBird mix bellFruit n berry Bird mixBird mix bellBird mix

    Mixes For Songbird Species:

    Songbird nuggetsSongbird food

    Designed for Suet/Insect-Loving Species:

    Suet nuggetsBugs n berriesBugsSpecial Feeder mix

    Mixes for Specific Species:

    Woodpecker nuggetsFinch mixBluebird nuggetsfinches, woodpeckers, cardinals, and chickadees, songbird and backyard bird blend sticks

    We have sticks selected for finches, woodpeckers, cardinals, and chickadees, as well as songbird and backyard bird blends.  

    Designed to Eliminate Mess:

    mess-free mixmess-free mixsuet nuggets

    Mixes Designed to Keep Away Pests (and Attract More Birds!):

    spicy mix spicy mix spicy mixspicy mixspicy sauce

    Placing your Feeder

    Once you have selected your feeder and bird seed, select a location to place the feeder. This is crucial to how birds and other animals will receive your feeder. By placing them near natural covers, like trees or shrubs, you can provide safety for birds while allowing easy observation. We also recommended positioning feeders at different heights to accommodate different species. By strategically placing your feeders, you create an inviting feeding station that will attract a diverse array of winter birds. Additionally, setting up the feeders now will allow birds time to locate their positions before harsh weather arrives.

    Be sure to regularly check on and refill your bird feeders. This is crucial to ensuring a consistent food supply for your feathered friends. Another important thing to note is that you must clean your feeders every 2 weeks. Use a scrub brush and mild detergent to scrub away debris and dry well before refilling. For the best clean, try a specially designed brush like this one (right) by Droll Yankees. To clean bird baths, scrub with a solution that is 9 parts water and 1 part vinegar.


    Beyond Bird Food: Other Notes

    Shelter and Water

    It is incredibly important to provide water to birds during the winter, especially when natural water sources have frozen. Place a sturdy birdbath in a sunny area to be visible to birds and hopefully prevent freezing. We offer heated birdbaths and de-icing rocks for when temps drop really low!

    de-icer electric rockheated birdbath

    Apart from food and water, birds need shelter during harsh weather. Trees and shrubs offer natural cover and perching spots, and birdhouses or nest boxes add additional shelter. By creating a sanctuary of shelter, you can encourage birds to visit and stay in your backyard.

    Conclusion

    By choosing the right feeders and food, placing your feeder strategically, and offering shelter and water, you can help your feathered friends survive the harsh winter. Remember, every effort you put into feeding and caring for these beautiful creatures contributes to their well-being and brings a touch of natural wonder to your surroundings. By following these guidelines and utilizing our recommendations, you can transform your backyard into a haven that welcomes and sustains a diverse range of winter birds.

    If you have any questions that weren’t answered or need more information, feel free to stop by and see us at either the Broad St. or Mechanicsville location. You can also give us a call or drop us an email at info@stranges.com. We’re here to help you grow better! 

    Connect with Strange’s: 

    Instagram: @StrangesRVA             Facebook: @Strange’s Florist 

    Mechanicsville: 804-321-2200      West Broad: 804-360-2800 

  9. Landscaping Solutions for Sloped Yards

    Comments Off on Landscaping Solutions for Sloped Yards

    Landscaping Solutions for Sloped Yards

    Introduction

    Landscaping a sloping yard presents a unique set of challenges. Unlike flat terrains, slopes require careful planning and consideration to ensure functionality and aesthetic appeal. There is no one-size-fits-all solution for sloping yard design due to various factors such as the severity of the slope, potential drainage issues, and budget constraints. In this blog post, we will explore a range of landscaping techniques for transforming a sloping yard into a beautiful and functional outdoor space.

    Beautifully landscaped slope with retaining walls, steps, and groundcover plants.

    Landscaping Solutions for Slopes

    Terraces

    Terraces offer a visually appealing solution for a sloping yard. By creating step-down levels, they effectively mitigate runoff, preventing erosion and preserving the integrity of your landscape. This approach is perfect for yards where the goal is to prevent runoff from reaching driveways and walkways. However, it’s important to consider how you intend to use the space. While terraces are great at preventing erosion, they may not be ideal for creating a play area for children or pets.

    Grading

    For those seeking to maximize the functionality of their sloping yard, grading is the ideal technique. By skillfully leveling out portions of the yard, a landscaper can create additional usable space, expanding the potential of your outdoor area. However, it’s crucial to approach grading with caution. Improperly executed grading can lead to drainage issues that potentially worsen the problems it was meant to solve. In many cases, retaining walls may be necessary to ensure the success and stability of this approach.

    Retaining Walls

    Functional and aesthetic retaining walls serve a dual purpose in sloping yard landscaping. They hold soil in place to prevent erosion, while also contributing to the overall visual appeal of your property. When installing retaining walls, consider the choice of material, appropriate height and length, and drainage. Done correctly, retaining walls can be instrumental in transforming a challenging slope into a stunning, multi-tiered garden oasis.

    Planting on Slopes

    Integrating various landscaping solutions is often the key to effectively managing a slope. Groundcovers play a pivotal role in this by enhancing the effectiveness of other techniques. Whether it’s terraces, grading, or retaining walls, groundcovers act as a stabilizing force, preventing erosion and adding a layer of natural beauty to the landscape. By strategically incorporating groundcovers, you create a cohesive and harmonious design that addresses the challenges of a sloping yard and elevates its overall appeal. Opting for deep-rooted varieties is essential for effective erosion control, anchoring the soil, and resisting runoff. If a slope is difficult to navigate, selecting low-maintenance plant varieties is crucial. A thoughtful combination of plant selection and accessibility planning ensures a thriving, sustainable slope landscape.

    Beautifully landscaped slope featuring lots of gorgeous groundcover plants.

    Creating Your Landscape

    Making a Plan

    Before beginning your transformation, it’s essential to conduct a thorough assessment of your landscape. This involves evaluating the grade of the slope, the type of soil, and the drainage conditions. Steep slopes can also be challenging to navigate, so pathways and stairs may be necessary to make regular upkeep manageable. For complex projects, consulting with landscape professionals is highly recommended. Their expertise can provide valuable insights and ensure that your vision is executed with precision. A well-thought-out plan is the cornerstone of any successful landscape project.

    Selecting Suitable Plants

    Selecting the right plants is important for a thriving hillside garden. Opt for varieties with deep-root systems that will anchor the soil and prevent erosion. Consider the light conditions of your slope, noting how the sun moves over the area throughout the day. To create a visually dynamic landscape, diversify your plant selection. Incorporate groundcovers, perennials, trees, and shrubs to add depth and interest to your sloping yard. Check out our list below with the top recommendations for native Virginia groundcovers.

    Best Native VA Groundcover Plants

    Maintaining Your Landscape

    Ensuring the longevity and vitality of your sloping yard requires consistent maintenance. Start with durable materials and high-quality soil. Applying mulch helps to suppress weeds, retain moisture, and reduce the need for frequent upkeep. Opt for low-maintenance plant varieties that require minimal pruning, fertilizing, and watering. Implementing efficient irrigation, such as drip systems, ton ensure that water is distributed evenly and effectively.

    Beautifully landscaped slope with retaining walls, grass, and lush groundcover plants.

    Conclusion

    In conclusion, successful slope landscaping relies on making a thoughtful plan. Using groundcovers in your design is pivotal to stabilizing the terrain and adding natural, versatile beauty. Embrace the challenge of your sloping yard as an opportunity to create a unique, functional, and visually captivating outdoor space, and you’re ready for a remarkable makeover. Happy landscaping!

    If you have any questions that weren’t answered or need more information, feel free to stop by and see us at either the Broad St. or Mechanicsville location. You can also give us a call or drop us an email at info@stranges.com. We’re here to help you grow better! 

    Connect with Strange’s: 

    Instagram: @StrangesRVA             Facebook: @Strange’s Florist 

    Mechanicsville: 804-321-2200      West Broad: 804-360-2800 

  10. All About Mulch

    Comments Off on All About Mulch

    All about mulch!

    Introduction

    Mulching is integral to gardening, offering numerous benefits such as moisture retention, weed suppression, and soil improvement. However, deciding whether to mulch in spring or fall depends on various factors. In this blog post, explore the pros and cons of spring mulching versus fall mulching and discuss different types of mulch and their advantages and drawbacks.

    Why use mulch?

    Mulch is hailed as essential to the gardening process, but why? Here are a few reasons:

      • Adds Curb Appeal: Mulching enhances the aesthetics of your house and landscaping by providing a polished appearance to your garden beds. Many mulches even come in various colors to match your existing design.
      • Improves Soil Quality: Organic mulches such as wood chips enrich the soil with valuable organic matter as they break down and are consumed by microbes and insects.
      • Regulates Soil Temperature: Mulch acts as an insulator, which helps maintain optimal soil temperatures in both summer and winter. This feature is crucial for new plantings done in the fall that are still fragile when temperatures begin to lower.
      • Helps Conserve Moisture: Mulch helps slow the evaporation of moisture in the soil and reduces the need for frequent watering.
      • Weed Prevention: Adding a 2-3 inch layer to your garden naturally inhibits weed growth by blocking sunlight and other nutrients.
      • Prevent Soil Erosion: Mulch creates a barrier between topsoil and the detrimental effects of rain, wind, and other elements.

    Fall vs. Spring Mulching

    While many gardeners choose to mulch in the spring for the reasons listed above, there may be additional benefits to fall mulching:

      • Soil Enrichment: Mulching with organic content will always help improve soil quality, but mulching in the fall allows vital nutrients to enter warm soil more easily. Fall mulching will also lead to less soil erosion from wintertime rain and snow and healthier shoots and blooms in spring.
      • Winter Protection: Fall mulch provides a barrier against harsh winter conditions, insulating soil and roots and preventing freeze damage or frost heave. This insulation will also protect the helpful organisms in your garden, such as earthworms, from harsh winter weather.
      • Time-Saving: While spring is typically the busiest time of year, fall offers a lighter list of to-dos. Mulching in the fall eases the long list of spring tasks.
      • Ideal Temperature: Cooler fall weather makes mulching a more pleasant chore and allows you to relish the comfortable fall temperatures before winter. Mulching in the fall also helps to regulate soil temperature when fall weather (predictably) has swings in temperature.
      • Keep Evergreens Green: Mulching the soil of your evergreens will prevent them from drying and turning brown in the winter.
      • Preserve Perennials: By adding a layer of mulch around the stalks and roots of perennials, they will be protected against winter weather and be more likely to return.

    However, there are also a few potential drawbacks to fall mulching:

      • Temperature: Covering the soil with mulch may affect how quickly soil temperatures drop, which leads to new, unsuspecting growth being damaged by winter weather.
      • Moisture: Fall mulching keeps the soil wet, which can lead to root rot and plant death.

    When is mulching right for my garden?

    All in all, there are many differing opinions on the optimal time to mulch. While many gardeners agree spring is the optimal time, it is best to consider your own needs and wants for your garden when deciding.

    Spring may be the best time for you if…

    • You care most about reducing the annual weeds in your garden.
    • You want a fresh and clean spring look.
    • You are patient enough to wait until mid-spring when soil temperatures warm up.

    Fall may be the best time for you if…

    • You are super busy with other garden tasks in the spring.
    • You are not as concerned with aesthetics, as mulching in the fall may cause color to dull by spring.
    • You live in an area with a super cold winter.

    Types of Mulch

    Once you decide on when to mulch, you can consider which variety to use. There are two main types of mulch: organic and inorganic. Organic mulch is a natural mulch without any additional synthetics. Organic mulch is best for adding nutrients to your soil and suppressing weeds, but it may not block weeds fully. Inorganic mulch is a synthetic mulch without any natural ingredients. Inorganic mulch is best for preventing weeds completely and retaining water but does not add any nutrients to the soil. Organic soil is likely your best bet due to its nutritional properties, but there are a few varieties to consider:

      • Bark Mulch: Suitable for trees, shrubs, or areas where you will not dig frequently. Lasts longer than other organic mulches; does not mix well with soil.
      • Pine Needles: A good choice for weed suppression and moisture retention; adds slight acidity to the soil.
      • Grass Clippings: Best for weed control in remote areas but decompose rapidly.
      • Newspaper: Effective at smothering weeds and retaining moisture. Cover with another type of organic mulch after placing.
      • Dry, Shredded Leaves: A free and versatile option suitable for various garden types, can attract more earthworms than other types.
      • Straw and Salt Hay: Ideal for vegetable gardens and preventing soil splashing on plants.

    Mulches with smaller particles, such as leaves or pine/straw will break down faster than others. This property is suitable for mulch used in the fall season.

    Conclusion

    In conclusion,  spring and fall mulching both have benefits depending on your specific garden needs and preferences. Spring mulching is excellent for a clean look and weed control, while fall mulching enriches the soil and protects plants during winter. Select the right type and season based on your gardening goals, and enjoy the benefits it brings to your landscape! Remember to maintain a 3-inch depth and avoid excessive buildup for optimal results.

    If you have any questions that weren’t answered or need more information, feel free to stop by and see us at either the Broad St. or Mechanicsville location. You can also give us a call or drop us an email at info@stranges.com. We’re here to help you grow better! 

    Connect with Strange’s: 

    Instagram: @StrangesRVA             Facebook: @Strange’s Florist 

    Mechanicsville: 804-321-2200      West Broad: 804-360-2800 

Follow Us

Mastercard Visa American Express Discover McAfee SECURE sites help keep you safe from identity theft, credit card fraud, spyware, spam, viruses and online scams
RVA

©2025 Strange's Florists. All rights reserved.
Website design by Torx Media